
Bee suit checklist before an inspection
Thirty seconds, five checks, done indoors. Everything that fails here is a sting you have not had yet.

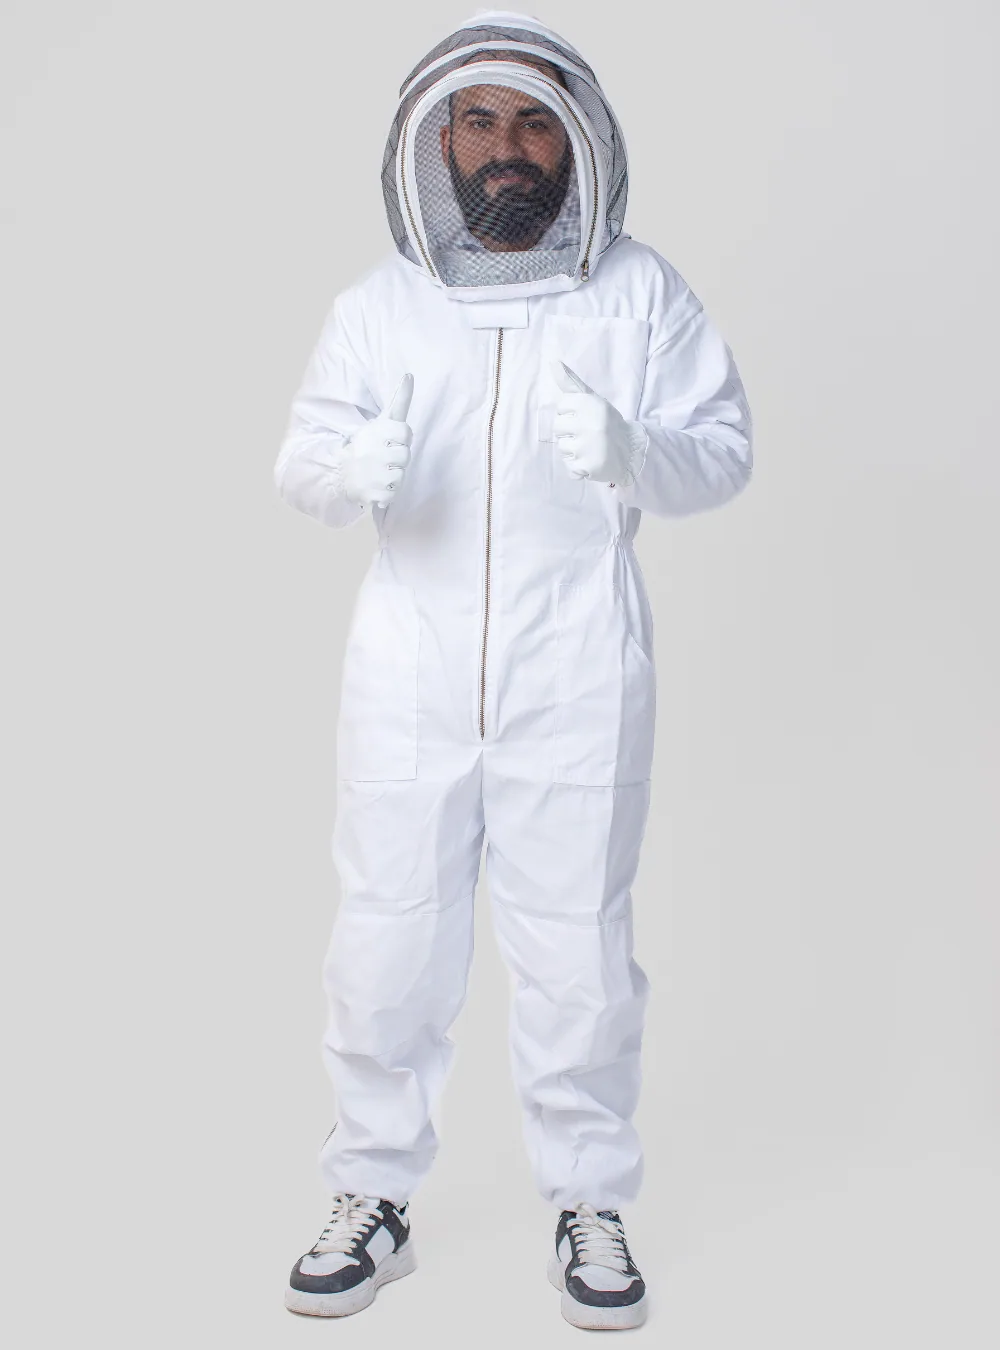
A bee suit checklist takes thirty seconds and catches almost everything that lets bees in: slack cuffs, a zip that will not close, a snag in the mesh, a veil touching your face, and a suit that pulls tight when you move. Do it indoors before you walk to the apiary, not at the hive.
The bee suit checklist: five checks
- Stretch each cuff and ankle, then let go. It should snap back and grip. Elastic that stays stretched has stopped closing the opening — and it fails invisibly, which is why this is first.
- Run every zip end to end. Especially the hood. A zip that catches will fail, and it will fail at the worst moment.
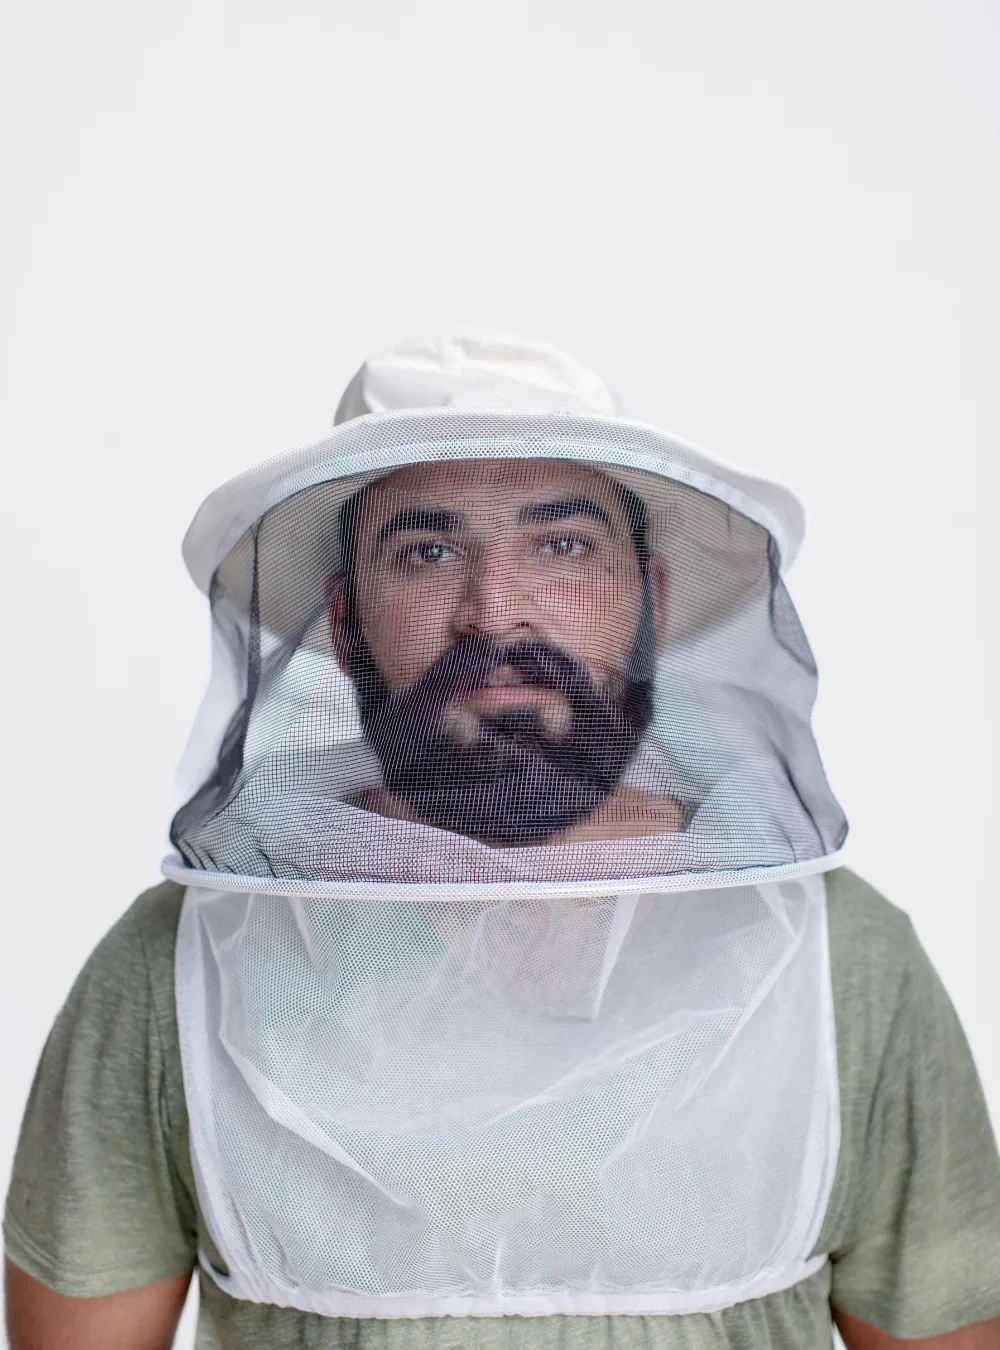
- Hold the veil mesh up to the light. Look for pinholes and snags, at the crown and where the mesh meets the collar.
- Put it on and look down at your own boots. The mesh should keep a visible gap from your nose.
- Reach forward and crouch. Cuffs stay over gloves, ankles stay over boots, nothing pulls tight across a shoulder or a thigh.
That is the whole bee suit checklist. Four of the five take seconds and the fifth takes one movement each.
Why indoors, and why before
Because every fault on the list has a fix, and none of the fixes is available in an apiary.
A slack cuff needs over-sleeves or a thumb loop. A failed zip needs a different jacket. A torn veil needs the spare. Found at the hive, each of those is a cancelled inspection or — worse — an inspection done anyway with a known fault.
It is also the moment you are least inclined to look properly. Standing in a cold apiary with smoke going is not when anybody inspects their own cuffs.
The rest of the kit, on the same bee suit checklist
| Item | Check |
|---|---|
| Gloves | No splits at the fingertips; gauntlet under the sleeve. Working bare-handed is a decision, not a skipped check |
| Boots | High enough that the trouser leg covers the shaft when you crouch |
| Base layer | Long sleeves, pale, nothing scented |
| Hair | Tied low at the nape, not high behind the collar |
| Smoker | Lit, fuelled and smoking before you open anything — with the rest of the bag packed |
| Hive tool | In your hand or a pocket, not in the car |
The gauntlet row is the one most often got wrong. Glove under sleeve closes the join; glove over sleeve funnels bees towards it — sealing wrists and ankles covers why.
What to do when something fails
Slack cuffs. Over-sleeves or a thumb loop get you through today; new elastic is the real fix and it is a repair rather than a new suit — elastic cuffs versus thumb loops.
A snag in the mesh. Small and away from the face: a few stitches, today. Across the face panel: use the spare veil. Repairing a torn suit covers the difference.
A zip that catches. Clean it rather than forcing it. If it still catches, that is a new slider — see zipper types and failures.
The veil touching your face. A thin cap under it usually fixes it entirely. If not, the shape is wrong for you.
Fabric pulling tight. The suit is too small, or you need a layer underneath. Neither is fixable this morning, so note it rather than ignoring it.
Why people skip it
Worth naming, because knowing the reason is most of the fix.
The checks feel unnecessary precisely when they are working. A suit that has been fine for twenty visits does not feel like it needs checking on the twenty-first, and the fault that matters — cuff elastic losing its recovery — is invisible and gradual. There is no day on which it obviously stops working.
So tie the bee suit checklist to something you already do rather than to intention. Do it while the smoker catches, or while the kettle boils before you go out. Thirty seconds attached to an existing habit survives; thirty seconds of good intentions does not.
Checking somebody else's kit
If you are lending a suit, or taking somebody to the apiary, run the list on their kit rather than assuming.
Two additions for a borrowed suit. Check that it fits them — a suit that fits you gapes on somebody smaller, and gaping at the collar is the fault that matters. And have them open and close the veil zip themselves, in gloves, before you walk over.
For a shared club set the list is the handover procedure rather than a courtesy, which is one argument for elasticated closures throughout — buying for a club covers specifying kit that is hard to get wrong.
The longer check, three times a year
The thirty-second version catches what is about to go wrong today. Three times a year, look harder.
- Before the first inspection of the season, when winter storage damage shows up.
- Before the late-summer visits, when colonies are largest and the suit is actually tested.
- Before you put it away, which is the most useful of the three — a fault found in October means months to order a part. Storing a suit over winter covers the rest.
The bee suit checklist for a visit you expect to go badly
A known defensive colony, a cut-out, a swarm somewhere awkward. Three additions to the bee suit checklist.
Tape the wrists and ankles. Carry the spare veil rather than leaving it at home. And tell somebody where you are and roughly how long — not a clothing matter, and the one most often skipped.
Decide your walk-away direction before you open anything, too. If a bee gets inside the suit, walking thirty metres in a direction you already chose is far easier than choosing one with a bee in your sleeve.
Teaching it to somebody else
Anyone you take to an apiary should do the five checks themselves rather than being handed a suit that somebody else checked. It takes a minute to teach and it is the habit that lasts.
For children, add the veil zip: they must be able to open and close it themselves, in gloves, without help. The children's guide covers why that one matters more than any feature of the garment.
For guidance on inspections themselves rather than the kit, Penn State's beekeeping basics and the University of Georgia Bee Program are the right sort of source. Our veils are sold separately, which is what makes carrying a spare practical.